Introduction to Hookah Setup
Setting up a hookah properly is an art form that significantly enhances your smoking experience. Whether you are a beginner or looking to refine your technique, understanding how to setup a hookah can make the difference between a harsh, unpleasant session and a smooth, flavorful one. This comprehensive guide will walk you through the essential steps, from preparing the base to managing the heat, ensuring you get the best possible results every time.
Understanding the Components of a Hookah
Before diving into the setup process, it is crucial to understand the various parts of a hookah. A standard hookah consists of several key components:
- The Base: The glass or acrylic vessel that holds the water.
- The Stem: The metal body that connects the base to the bowl.
- The Downstem: The lower part of the stem that extends into the water.
- The Bowl: The receptacle at the top that holds the shisha tobacco.
- The Hose: The tube through which you inhale the smoke.
- The Tray: The metal plate that catches ash from the charcoal.
Step 1: Preparing the Base
The first step in how to setup a hookah is filling the base with water. The water acts as a filter and a cooling agent for the smoke. Fill the base with cold water so that the downstem is submerged by approximately one to one and a half inches. Adding ice cubes can further cool the smoke, providing a smoother draw. Avoid overfilling, as this can cause water to enter the hose, ruining your session.
Step 2: Assembling the Hookah
Once the base is prepared, insert the stem into the base. Ensure that the rubber grommet creates an airtight seal between the stem and the base. Next, attach the hose to the hose port on the stem, again ensuring a tight seal with the appropriate grommet. Place the ash tray on top of the stem. A well-assembled hookah prevents air leaks, which are critical for producing thick smoke.
Step 3: Preparing the Shisha Bowl
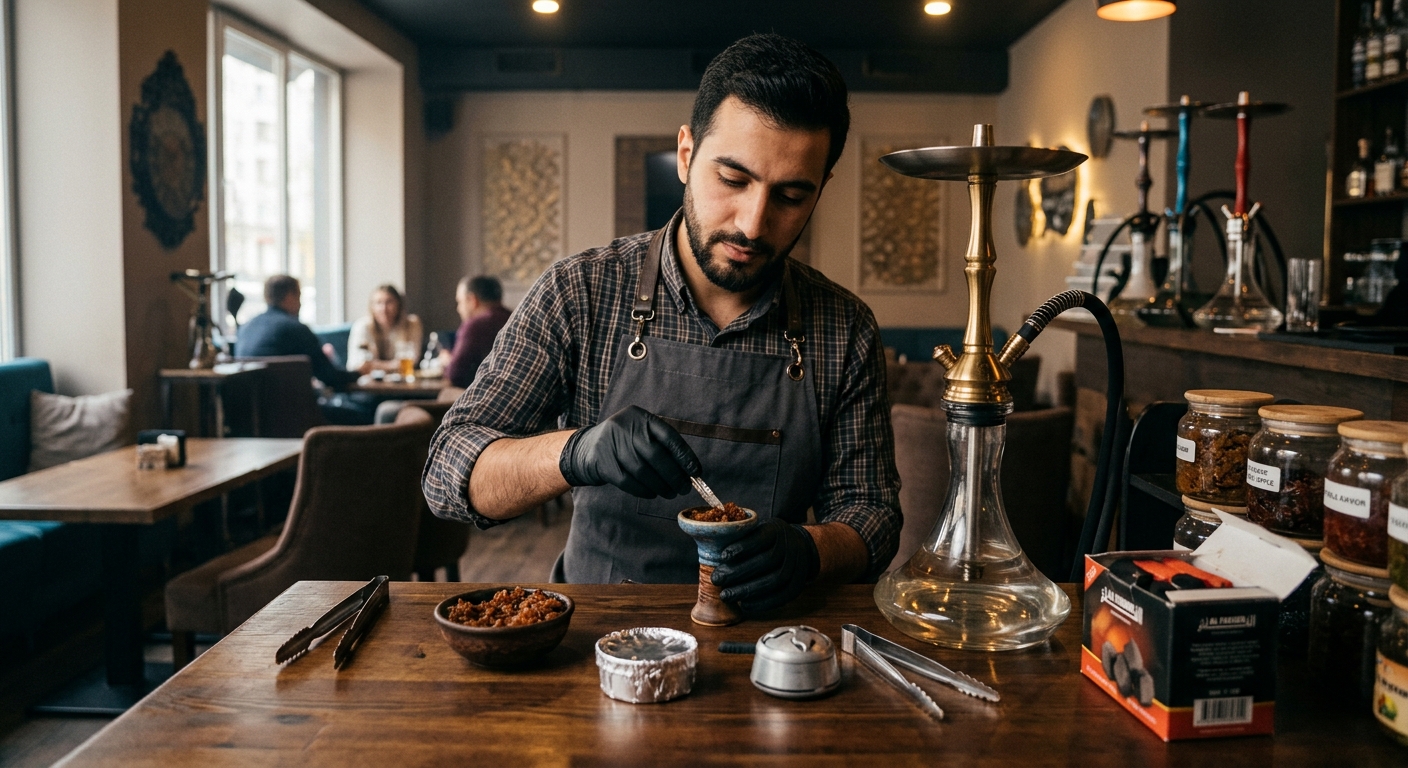
Preparing the bowl, or ‘packing,’ is arguably the most important step. Take your shisha tobacco and mix it well to distribute the juices evenly. Lightly sprinkle the shisha into the bowl, ensuring it remains loose and fluffy to allow for proper airflow. Do not pack it too tightly, or the heat will not distribute properly, leading to a harsh taste. The shisha should sit just below the rim of the bowl so it doesn’t touch the foil or heat management device.
Step 4: Foiling the Bowl (or using an HMD)
If you are using aluminum foil, take a square piece of heavy-duty foil and stretch it tightly over the top of the bowl. It should be drum-tight to prevent the charcoal from sagging into the shisha. Using a toothpick or a specialized foil poker, poke evenly spaced holes across the surface of the foil. If you prefer a more modern approach, you can use a Heat Management Device (HMD) instead of foil, which simplifies heat control and reduces ash contamination.
Step 5: Heating the Charcoal
Choosing the right charcoal is vital for a clean session. Natural coconut charcoals are highly recommended over quick-light coals because they burn hotter, last longer, and do not impart chemical flavors to your smoke. If you are looking for excellent options, check out the Top Low Ash Hookah Charcoal Brands for a Cleaner Session. Heat the coals fully on an electric stove or coil burner until they are glowing red all over with a thin layer of grey ash. This usually takes about 10-15 minutes.
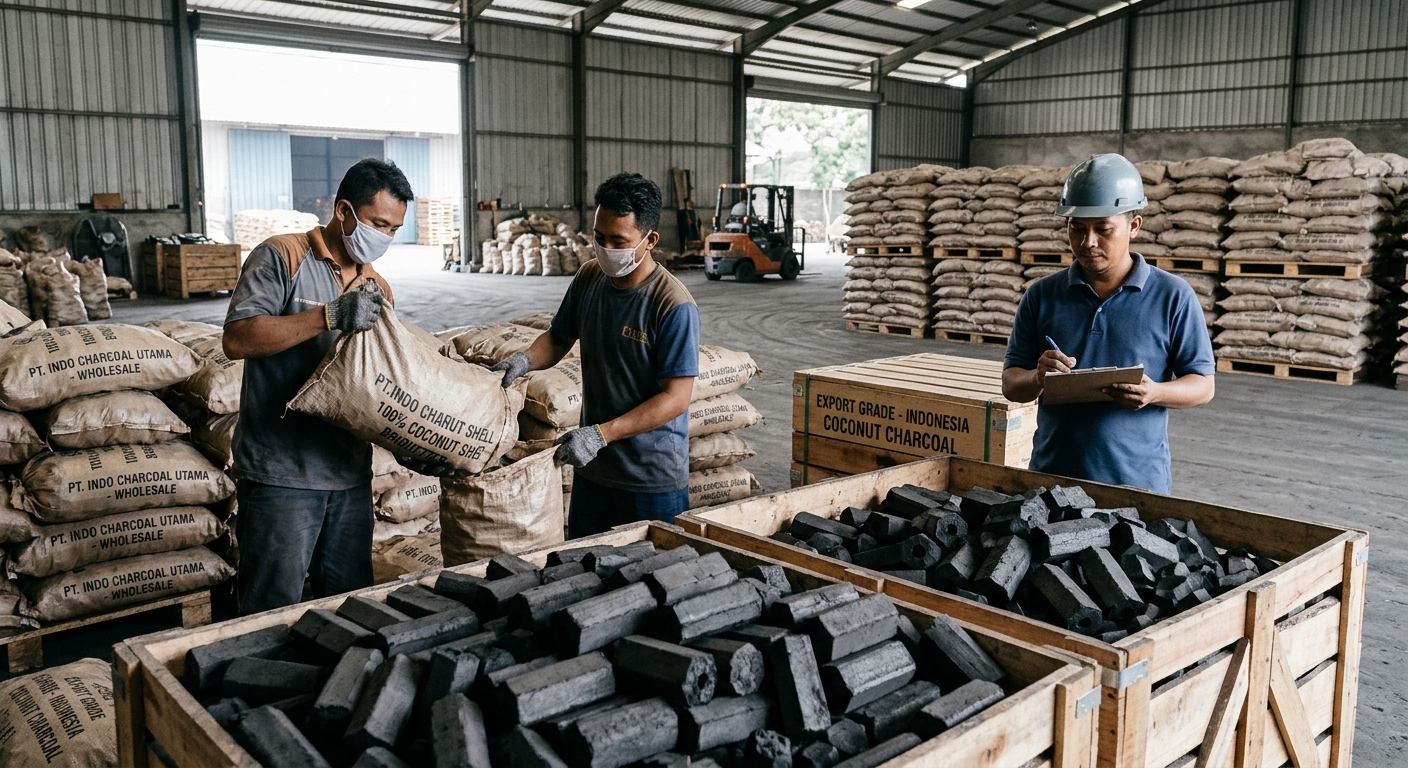
For businesses or frequent smokers looking to purchase in bulk, sourcing high-quality charcoal is essential. You can find excellent resources, such as A Complete Guide to Buying Coconut Charcoal Wholesale from Indonesia, to ensure you are getting the best products available.
Step 6: Managing the Heat
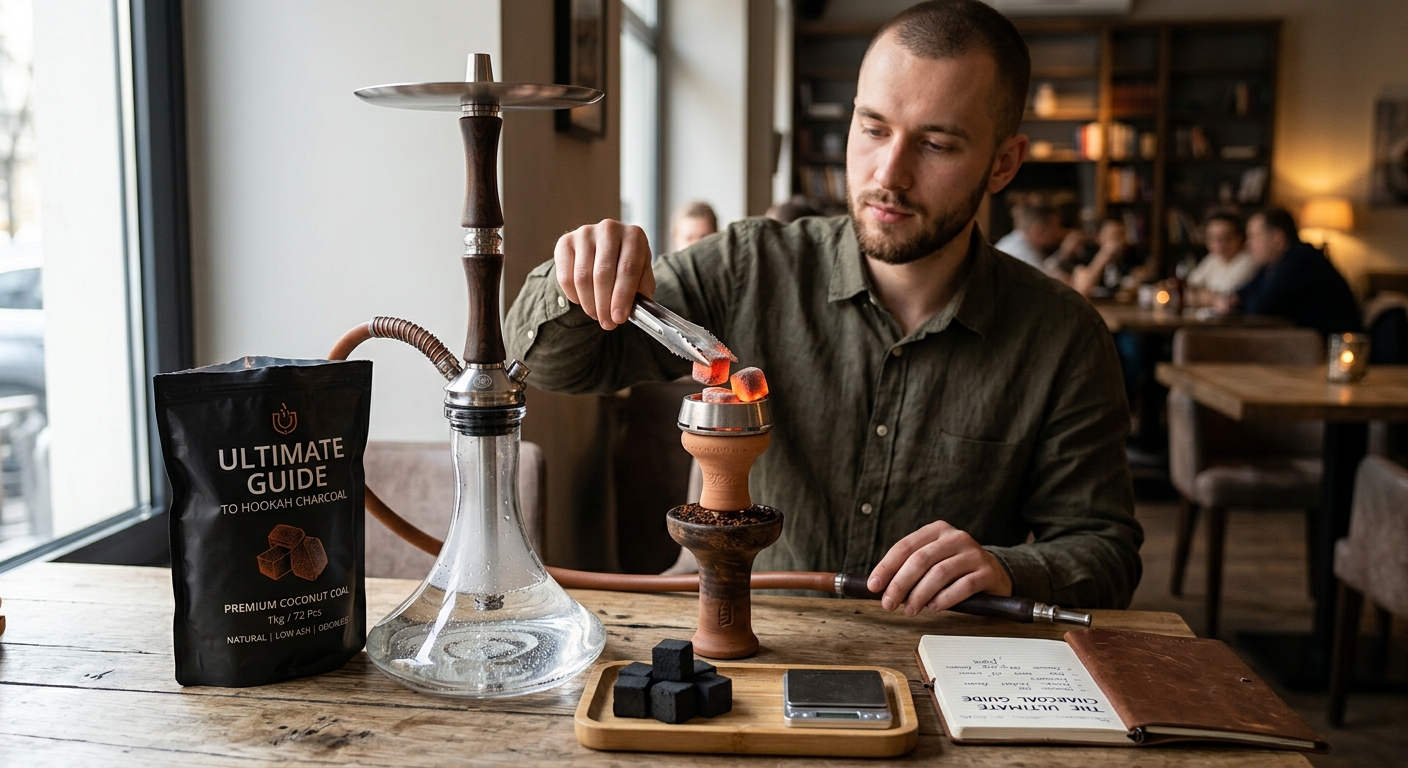
Once the coals are fully lit, carefully transfer them to the edges of the foil or into your HMD using tongs. Let the bowl sit for 3-5 minutes to allow the heat to bake the shisha. This patience will be rewarded with thick, flavorful clouds on your first draw. As the session progresses, manage the heat by rotating the coals around the bowl or removing one if the smoke becomes too harsh. Proper heat management is the secret to a long-lasting hookah session.
Common Mistakes to Avoid
When learning how to setup a hookah, many beginners make a few common errors:
- Overfilling the Water: This causes a restricted draw and risks water entering the hose.
- Dense Packing: Packing the shisha too tightly restricts airflow and burns the top layer while leaving the bottom raw.
- Using Unlit Coals: Inhaling carbon monoxide from unlit or quick-light coals can cause headaches and ruin the flavor.
Conclusion
Knowing how to setup a hookah correctly transforms an ordinary smoking session into an exceptional experience. By carefully preparing the water level, packing the bowl with precision, and managing your heat effectively with high-quality charcoal, you can enjoy rich, smooth, and flavorful smoke. Practice makes perfect, so take your time with each step and adjust your techniques based on the specific shisha and equipment you are using.
Frequently Asked Questions (FAQ)
How much water should I put in the hookah base?
You should fill the base with enough water to submerge the bottom of the downstem by about 1 to 1.5 inches. Too much water will restrict airflow, and too little will not filter the smoke properly.
Why does my hookah smoke taste burnt?
A burnt taste usually indicates that the shisha is too hot. This can happen if the shisha is touching the foil or HMD, if there are too many coals on the bowl, or if the bowl was packed too high. Try removing a coal or adjusting their position to the edges of the bowl.
How long does a typical hookah session last?
With proper setup and heat management, a standard hookah bowl can last anywhere from 45 minutes to 1.5 hours. The duration depends on the type of bowl, the brand of shisha, and how well you manage the charcoal.

2 thoughts on “The Ultimate Guide on How to Setup a Hookah Like a Pro”